
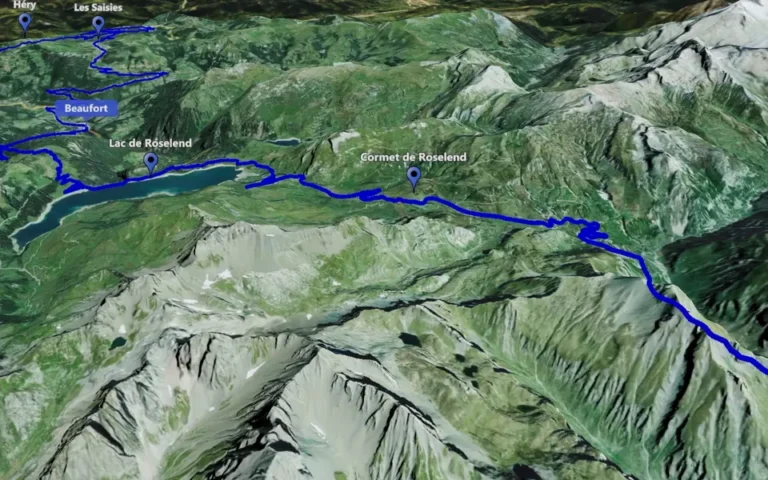
How to Animate Route on Map
Prepare a route with built-in place search, create a Track Following clip and refine the camera. Learn how marker visibility differs from appearance timing, then preview and prepare your first map video.

How do you create it? Follow practical guides to route animation, camera movement, importing routes and preparing clips for your video editor. Start with your first map animation, then explore the techniques you need.
Prepare a route with built-in place search, create a Track Following clip and refine the camera. Learn how marker visibility differs from appearance timing, then preview and prepare your first map video.
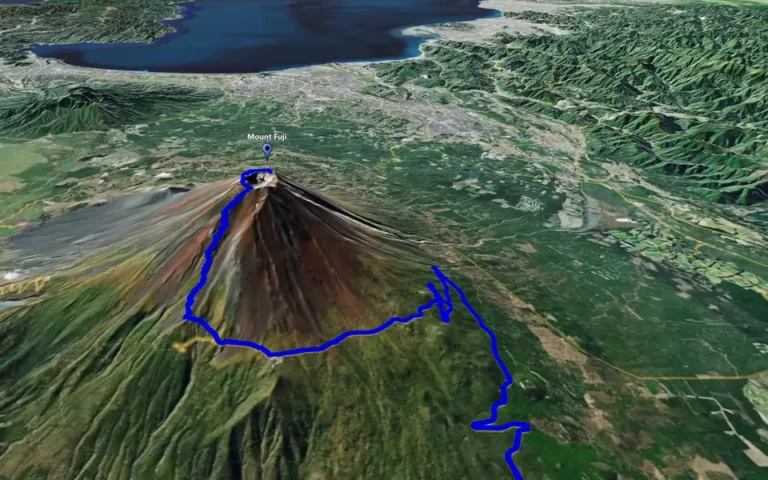
Create a Circling Around clip around a selected key point. Set the radius, camera height and rotation, then check markers and any animated route before saving the location video.
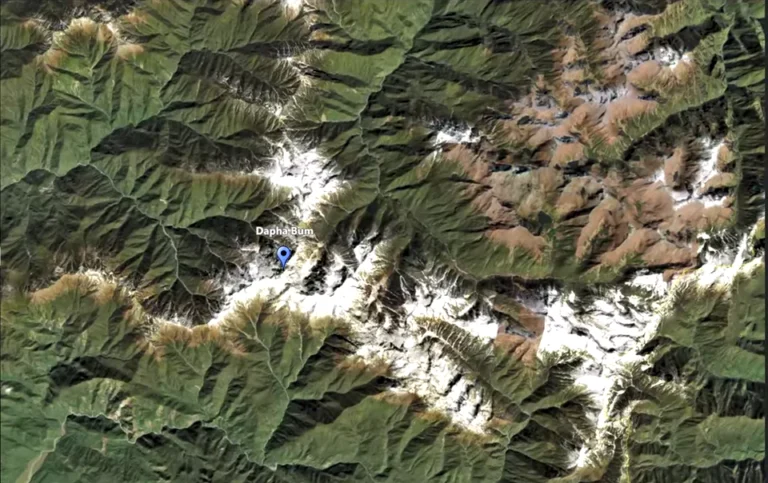
Create a Point-to-Point clip around selected locations. Set each stop height, review the camera transitions and check any animated track separately before saving the sequence for export.
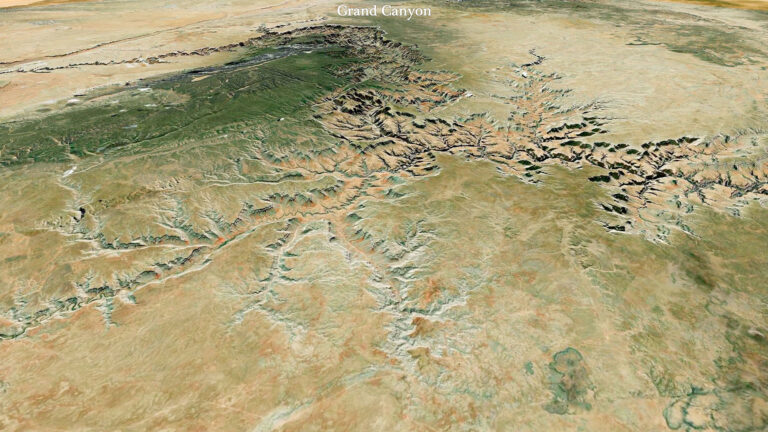
Prepare a route, orbit, point-to-point or zoom clip for output. Review the camera and markers, choose a suitable aspect ratio and check the finished video before using it in your edit.
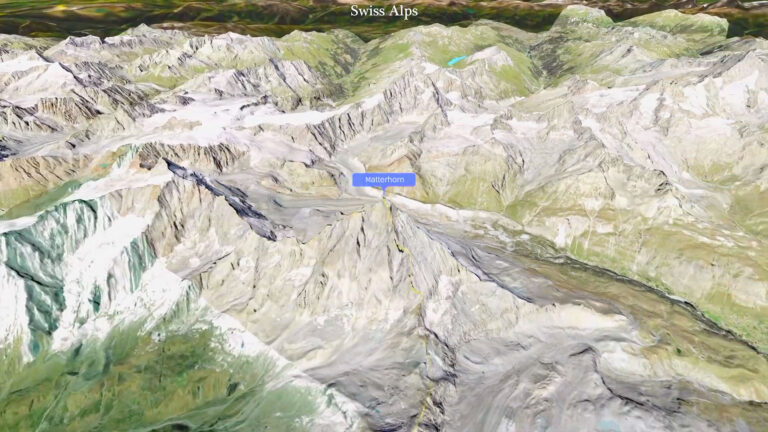
Plan a complete travel sequence using route clips, map zooms and location views. Give each animation a clear role, prepare the video files and combine them with footage in your editor.
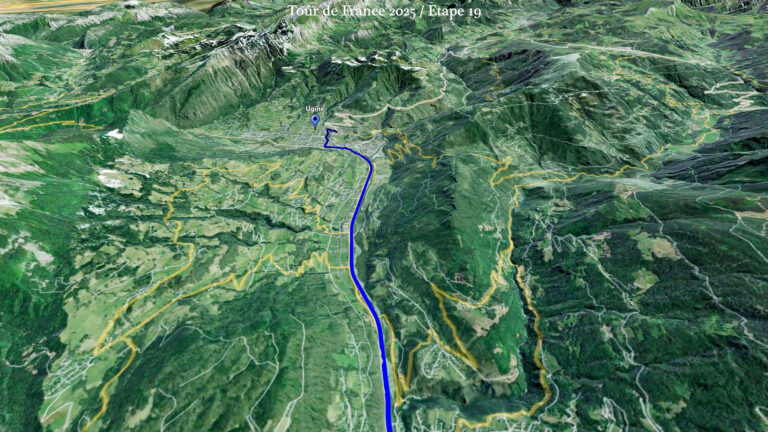
Create and check a map video, import it into Premiere Pro and place it with your footage. Review the clip at the sequence size, trim it around the story and keep the route readable.
Bring a finished map video into the DaVinci Resolve Media Pool, place it with your footage and check the result in the timeline. Use route, zoom and location clips where the story needs geographical context.
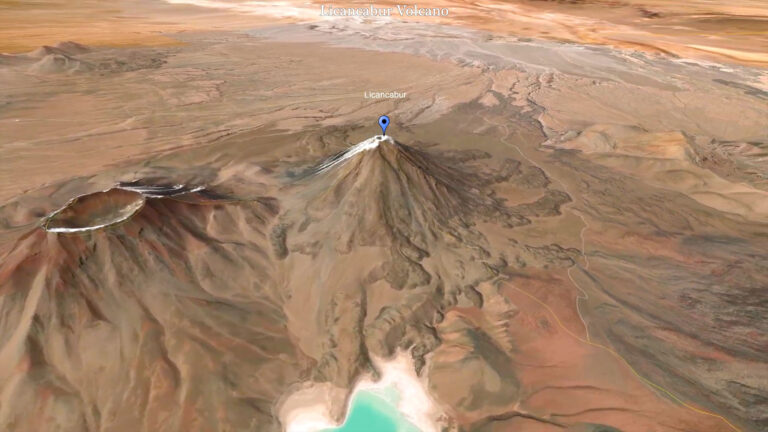
Prepare a route or location video, import the file from your Mac into Final Cut Pro and combine it with your footage. Check storage, framing and the geographical transition in the finished sequence.
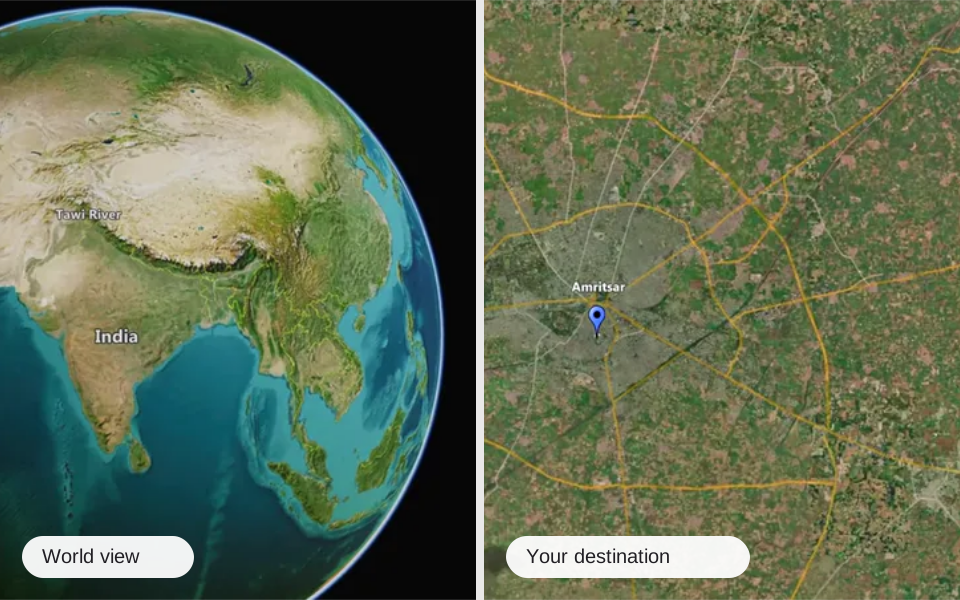
Plan a map zoom around a clear destination. Choose Zoom+ to move towards a place or Zoom- to reveal the wider setting, then review the composition and prepare the transition for your edit.
Import prepared KML or KMZ routes and points into an Event. Check the objects on the map, review visibility and track activity in the clip, then choose the camera movement that suits the story.