A successful preview is the starting point for a useful video file. Review the chosen clip, select an aspect ratio for its destination and check the finished render before you publish it or bring it into an editing project.
Review the version you intend to export
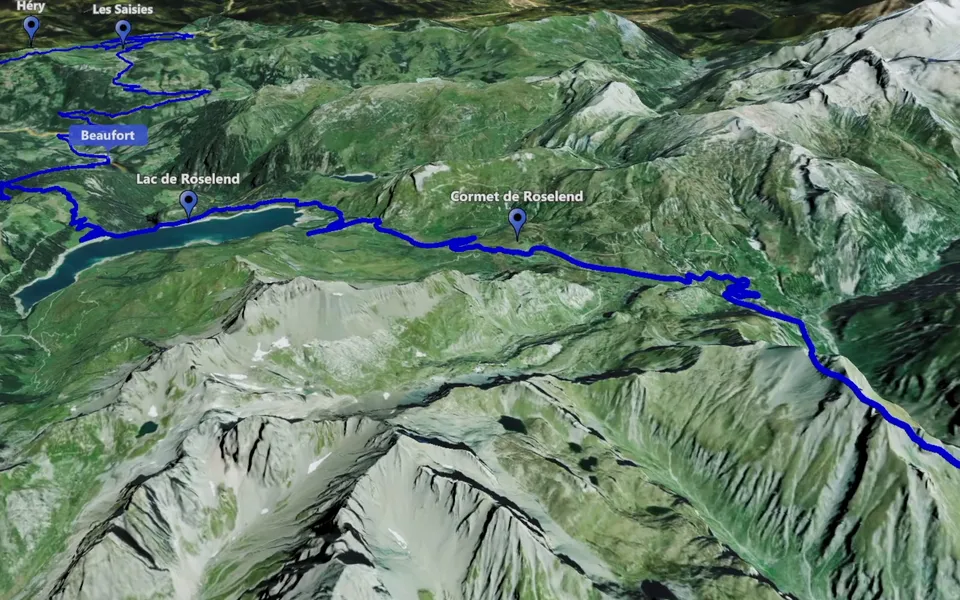
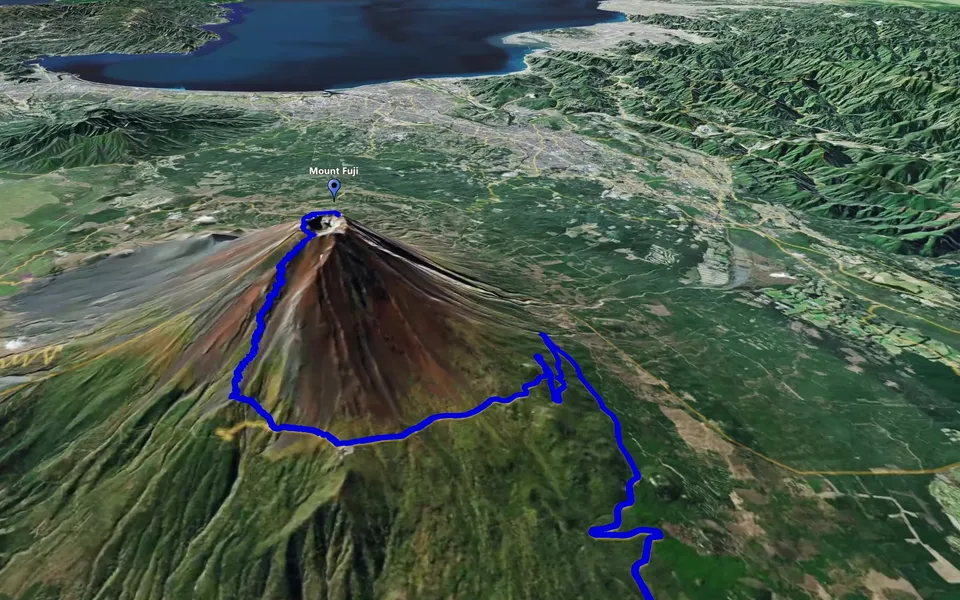
Play the whole scenario and check the beginning, movement and final view. Confirm that the intended route is visible, the camera stays useful and markers appear at the right moment. Save the version you want to keep before making further changes.
For Track Following, a timing change can affect the calculated camera height. Replay the result after adjusting duration. For an orbit, check the view all the way around the location. For a sequence of stops, make sure each place is recognisable before the camera moves on.
Choose the frame for the finished project
JJ Route Animator offers horizontal, vertical and other aspect ratios. Choose the frame according to where the video will be used. A landscape travel edit and a vertical short give the same route different amounts of space, so review the composition in the intended format.
The full guide describes 4K output. Use the settings available in your installed version when creating the file, and select settings that suit the destination project. The guide does not establish one universal codec, frame rate or rendering time for every export.
Check the rendered file
Open the finished video and watch it from start to end before building an edit around it. Preview map loading and the rendered result are different stages; judge the file itself for your final quality check.
- Confirm that the first and last frames are useful for the intended cut.
- Check route lines and markers at the size viewers will see them.
- Look for unintended changes in movement or framing.
- Play the file in the editing project and inspect it alongside the surrounding footage.
Use the clip in a longer edit
Breaking points can create separate plans inside a map clip. Split the resulting video into the parts you need in your editor. Keep the original render available so you can return to another section later.
Continue with the workflow for Premiere Pro, DaVinci Resolve or Final Cut Pro. For the sequence as a whole, use the travel video guide.