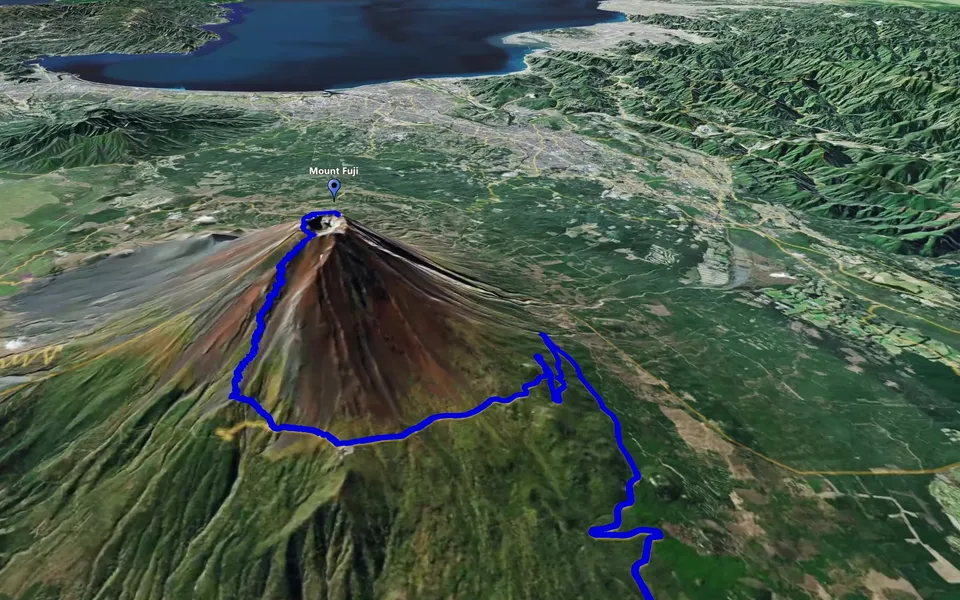
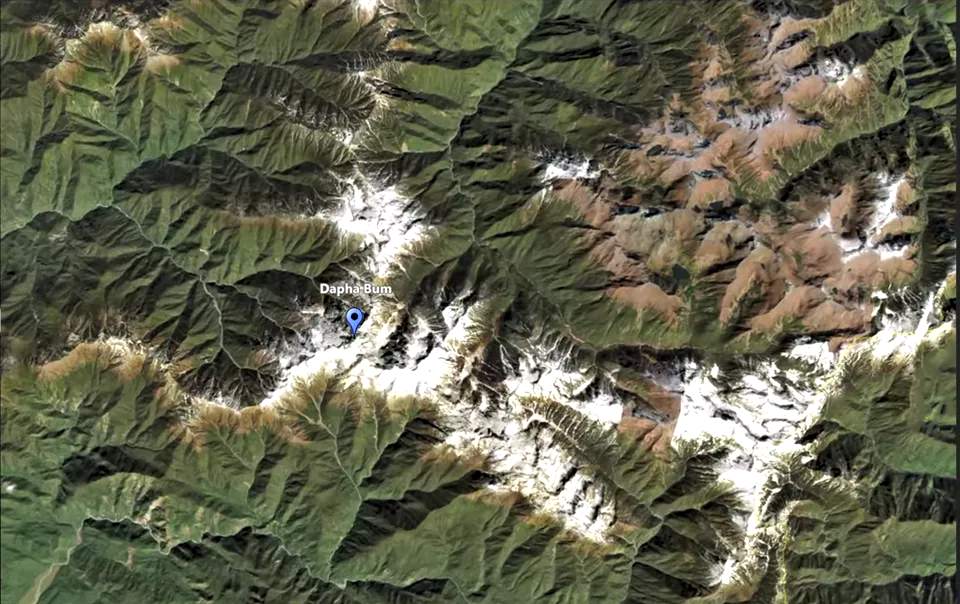
Create a Track Following clip to animate your route on a 3D map. Set its duration, adjust the camera angle and altitude, and enable the place markers you want to show. Use Points Appear to control when those markers appear and breaking points to divide the animation into sections for editing.
Prepare the journey in an Event
Organise your route and its places in an Event. Use the built-in place search to find locations and build the route inside JJ Route Animator. Include the places you want viewers to recognise along the way, such as the start, destination and relevant stops.
If you already have routes or points in KML or KMZ, use the import workflow to bring them into the Event. Before creating the clip, check that you have the intended track and the points you want to use. Place markers can then be shown, hidden and timed within the animation.
Create the Track Following clip
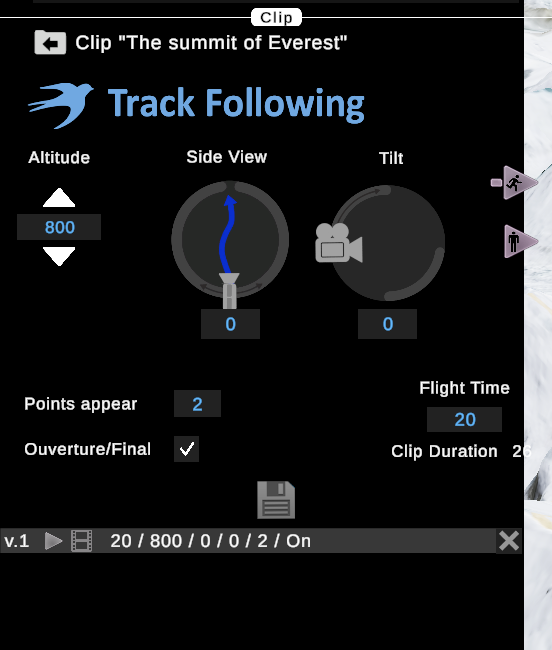
To create a new Track Following clip for your prepared track, right-click and select New Clip Track Following from the context menu. Set the duration in seconds. The application uses the route and duration to calculate an initial camera altitude. This gives you a starting view that you can preview and adjust.
Choose the duration according to how much time the route needs in your video. A quick overview can introduce the journey, while a longer clip gives viewers more time to follow individual sections. Check the camera after each timing change, because recalculating the duration can also change its altitude.
A longer duration can lower the calculated camera altitude and make its path follow the bends more closely. On a winding route, this can produce more zigzagging movement. Preview the recalculated path before deciding whether the extra duration improves the sequence.
For a practical comparison, try durations of 7, 20 and 40 seconds for the same route. Play each version and compare the calculated camera height and the amount of zigzagging. Use the result to choose the duration and view that suit your route.
Adjust the camera angle and altitude to make the route clear. A closer view gives individual bends and nearby places more prominence. Raising the camera can make a winding path easier to follow and include more of the surrounding landscape. Compare the moving views before choosing one.
After changing the camera, click the standing-person icon to recalculate the timeline. Replay the section you adjusted and check whether the new view keeps the track and its labels readable.
Check visibility and marker timing
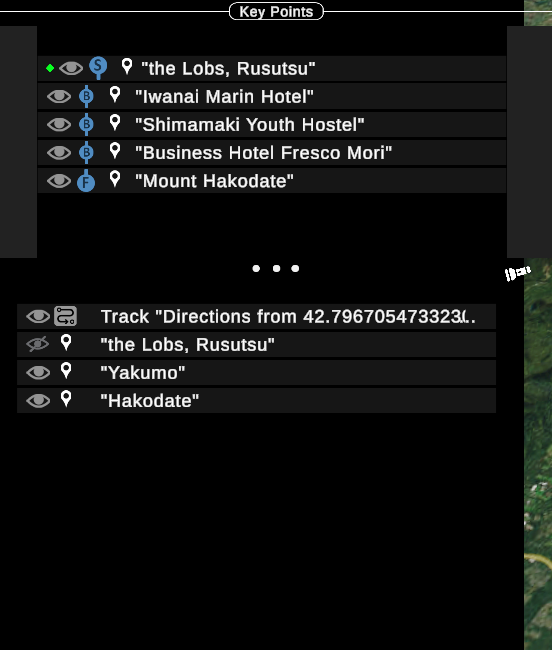
Points in a new clip can be hidden. The flashlight tool highlights invisible points in the interactive view so you can locate them, but highlighting a point does not make its marker visible in the animation.
- Select the point you want to display.
- Use the eye icon or press V to change its visibility.
- To show the entire set, select all the points and press V.
- Play the clip to check which markers are visible.
Once the required points are enabled, adjust Points Appear. This parameter sets how many seconds before the animated track reaches a point its marker appears. Increasing the value by one second makes the marker appear one second earlier.
Give viewers enough time to read a place name before the track passes it. Review the approach to the point at normal playback speed and adjust the lead time as needed. If a marker never appears, check its visibility first; changing Points Appear will not enable a hidden point.
You can also change the shape of a place sign or add a label for another location along the route. Find the place, add a point and turn it into a signboard displaying its name. Check the label from the camera angle used in the clip, including the moment when it first becomes visible.
If you need to identify a town from its coordinates, you can copy them and look up the location in a mapping service before adding the named point.
Preview, save and create the video
Use the timeline to inspect the animation. Drag its white cursor to any position and press the space bar to start playback there. Check turns, marker appearances and the opening and closing views. Then watch the complete clip to assess the pace and continuity of the camera movement.
Breaking points let you divide one Track Following clip into several sections. When the animated track reaches a breaking point, it pauses and shows a view of that section. The same happens at the next breaking point, giving you several distinct shots within one sequence.
Use these pauses as cutting points when editing the exported file. You can take one route section, place travel footage after it and return to the map for the next section. Set the breaking points, preview each section and its pause, then make the cuts in your video editor after export.
During interactive playback, map tiles may load in visible squares as the camera moves. Use this preview to assess the camera path, track and markers. Review the rendered video separately for the finished map detail and image quality.
Save the clip version you want to keep before experimenting further. Continue with the export guide to prepare and review the video file. For camera movement between selected stops, explore the Point-to-Point tutorial.
Track Following is intuitive and user-friendly: the application calculates the camera altitude, and you control the clip duration, viewpoint, marker visibility and appearance timing.