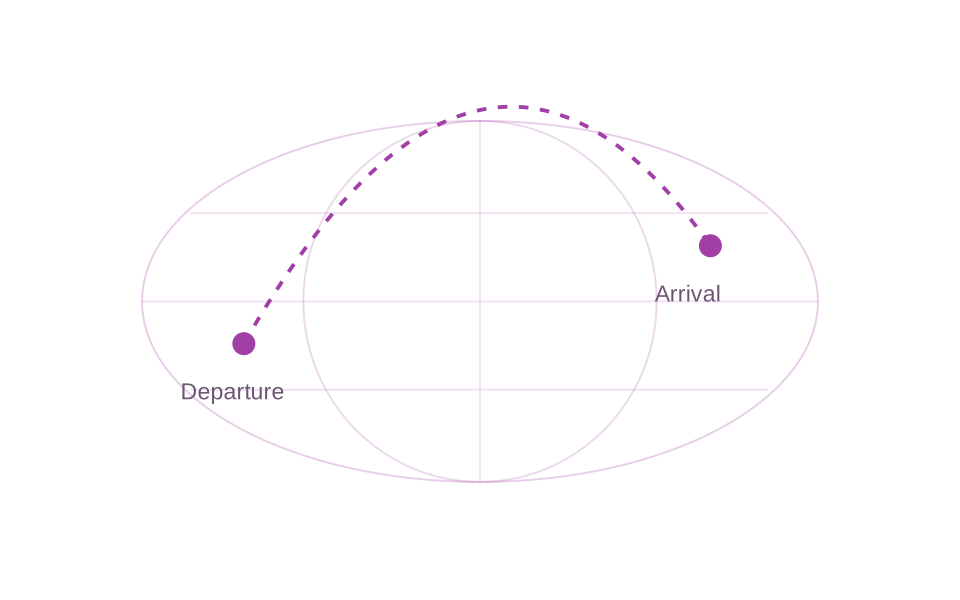
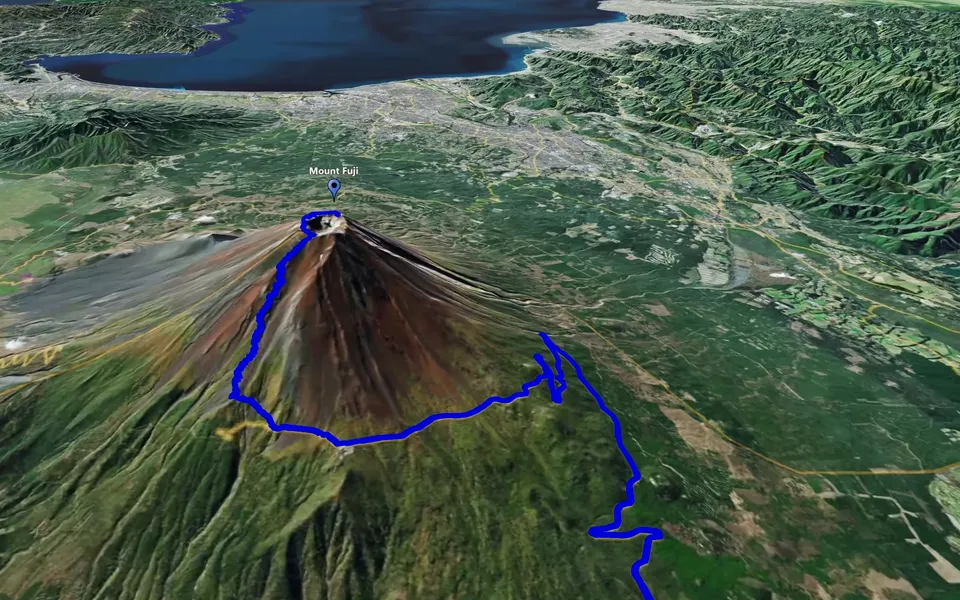
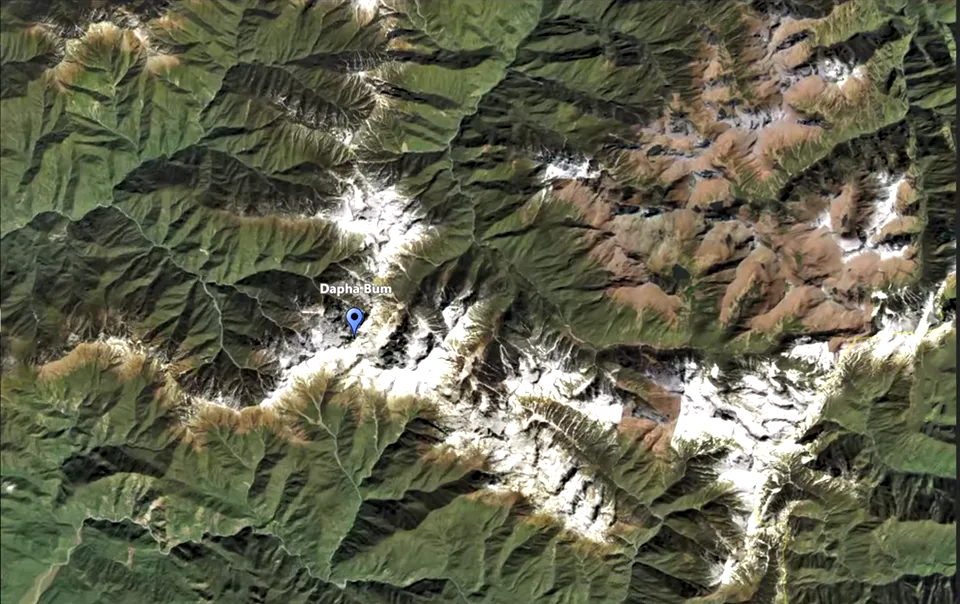
Connect the places that define your journey. Point-to-Point map animation in JJ Route Animator moves the camera between selected key locations, giving a travel video a clear geographical progression from one part of the story to the next.
Not every journey needs the camera to follow every bend in the road. Sometimes a starting city, a landmark and the next destination explain the structure more clearly. Point-to-Point puts those locations at the centre of the animation, making it useful for a trip overview or transitions between chapters.
Choose the stops according to the footage and the story you want to tell. A location belongs in the sequence when it helps the audience understand the next scene. Adding more places is not automatically more informative; an uncluttered progression is often easier to follow.
Each key point can have its own camera height. One stop can establish a wider area, while another brings the audience closer to a particular place. This makes the sequence more useful than showing every location from the same distance, especially when the places play different roles in the video.
For example, a broad view can introduce the city where a trip begins, followed by a closer view of the landmark featured in the next chapter. Treat that as a composition choice: decide how much context each place needs before refining the camera movement.
A track passing near the selected points can also be animated. Use this when viewers need to understand both the important stops and part of the journey between them. Check that the route remains clear as the camera moves, and avoid making it compete with the locations you are introducing.
Point-to-Point and Track Following solve different storytelling problems. Point-to-Point connects selected locations with camera movement. Track Following makes the path itself the focus by moving the camera along it. Choose according to what the viewer needs to understand at that moment.
Flight Route Animation has another purpose: showing the route of an air journey. Moving a camera between distant places is not the same as explaining an air route. A travel video may use both kinds of scene, but each should have a clear job in the edit.
Look at the shots that will appear immediately before and after the map. The opening map view should connect with the place the audience has just seen; the closing view should introduce what comes next. This gives the camera movement a reason to be there.
When reviewing the sequence, check:
- Every stop contributes information that the audience needs.
- The camera height makes each location easy to recognise.
- The sequence leaves enough time to understand a place before moving on.
Save a version before trying a different set of views. You can return to a preferred scenario and compare alternatives in the context of the edit. Once the sequence is clear, create the map video and place it between your destination chapters or use it as a short introduction to the whole journey.