Start with the world and bring the audience to one place. Map Zoom Animation is a standalone JJ Route Animator feature for creating a transition from a broad map view to a selected location or object.
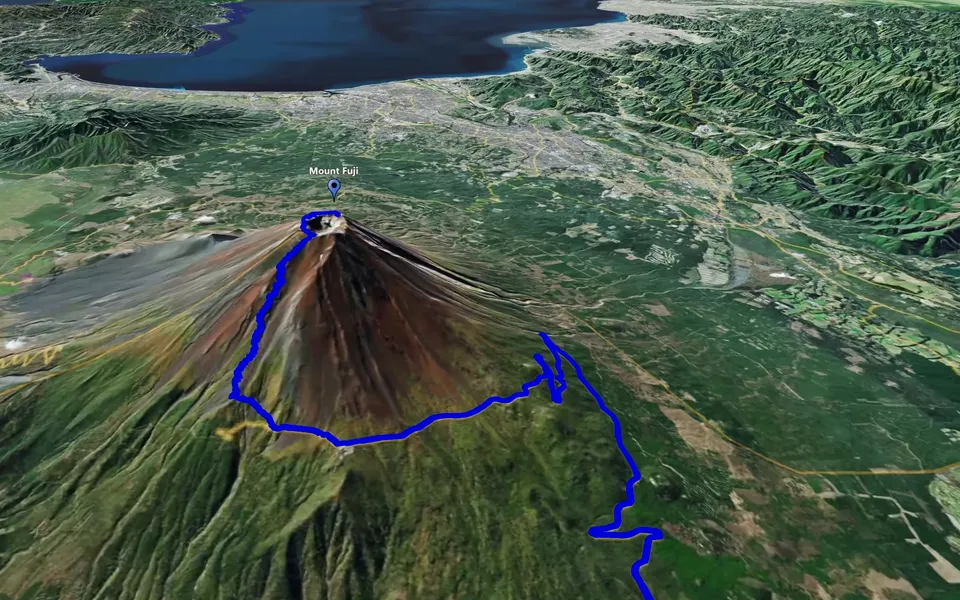
A close shot can show what a place looks like without explaining where it is. A map zoom provides that missing connection. The broad opening establishes geographical context; the closer view gives the next scene a destination that the audience can recognise.
Use it to open a travel video, introduce a new country or move from a geographical explanation into footage recorded on location. The transition is most useful when its destination is also the subject of the scene that follows.
A world view can make a distant destination easier to place. Consider what your audience already knows and what the map should add. If the journey is unfamiliar, a clear introduction to its location can be more helpful than opening immediately with a close view of the landscape.
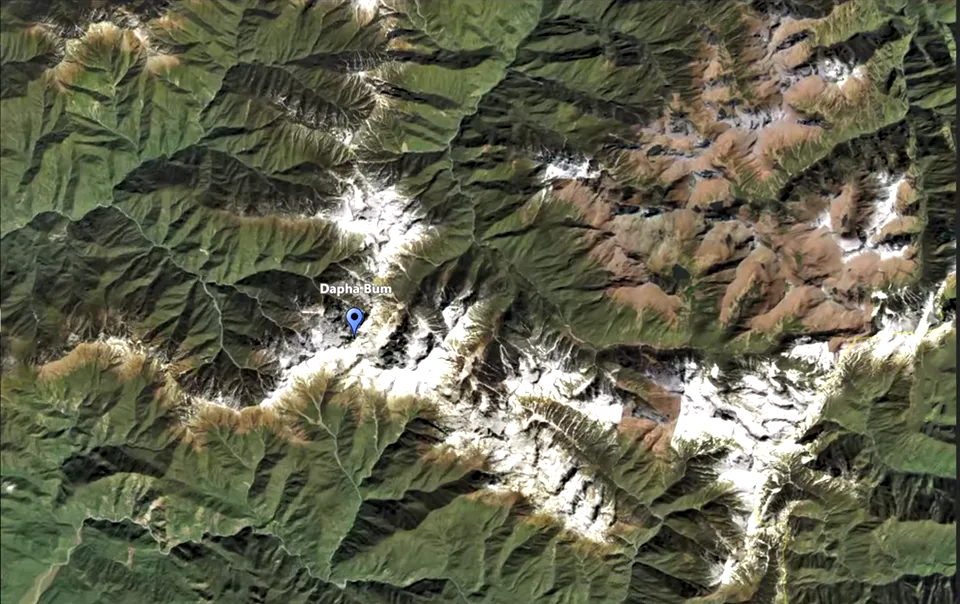
Plan the final view around the next shot. An entire city may be the right context for a chapter about that destination. A particular landmark or object may be more useful when the next scene focuses on one place. The endpoint gives the movement its purpose.
You do not need to explain the entire trip in the zoom. Let this sequence answer where the next part happens, then use the footage, narration or later map scenes to tell the rest of the story.
Before committing to the map clip, consider how it will sit between the surrounding shots. Watch the movement with your intended narration or chapter introduction in mind. The destination should be clear by the time you cut from the map to the footage filmed there.
- Open with enough geographical context for the intended audience.
- Keep the destination consistent with the place introduced in the next scene.
- Give the closer view time to register before the cut.
A transition can feel quick and still be readable. The important point is whether the viewer understands where the movement has taken them. Review the full sequence, including its beginning and end, rather than judging only the most dramatic moment in the middle.
Save a version before trying another approach. Once you have a sequence that fits the edit, create the video in the aspect ratio you need and combine it with your own footage.
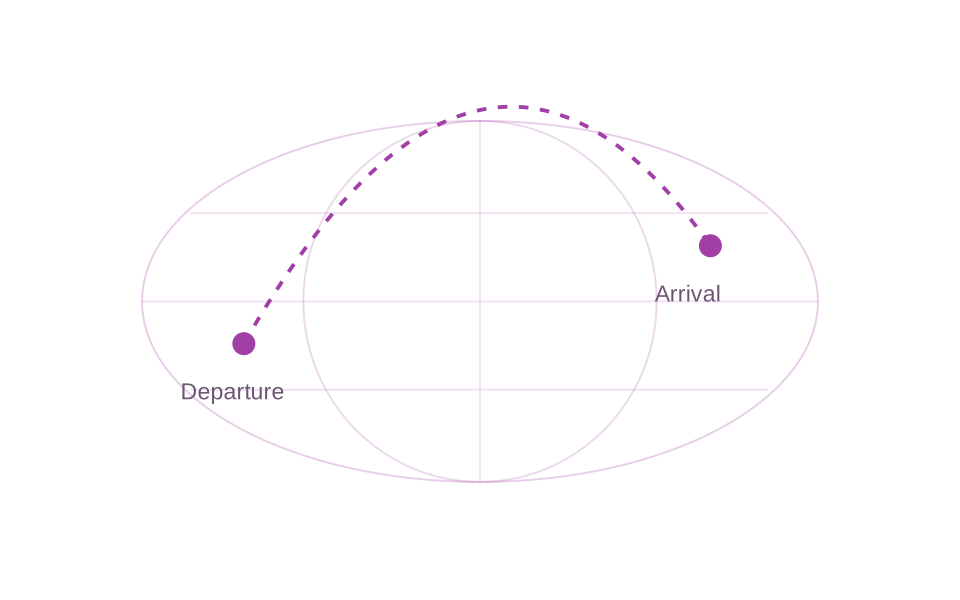
Choose Zoom when the story moves from a wider geographical view to one destination. Choose Point-to-Point when several selected locations need to be connected in a camera sequence. Choose Circling Around when a place needs to be seen from changing viewpoints in an orbit.
Those movements can serve different moments in the same travel video. A zoom can introduce the setting, a route sequence can explain the journey, and an orbit can give a landmark more attention. Plan each clip around the information it adds, then assemble the sequence in your video editor.