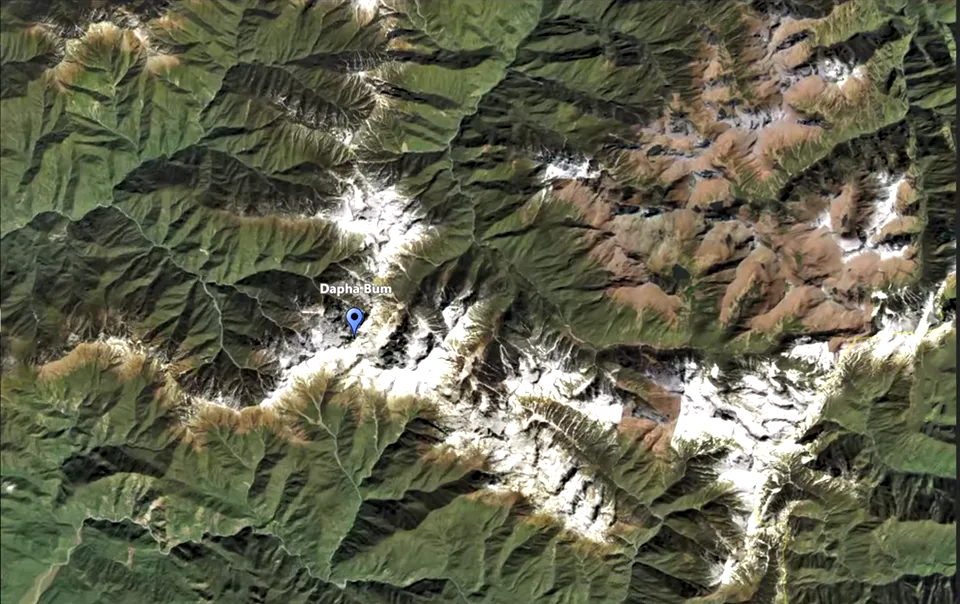
Give a destination a changing perspective. Circling Around in JJ Route Animator moves the camera around a selected key point, creating a 3D map orbit that reveals the setting of a mountain, island, landmark or another place in your story.
Some locations deserve more than a quick pass on the way to somewhere else. An orbit gives the audience time to look around a destination and understand how it sits in the surrounding landscape. It can introduce the high point of a journey or create a pause between faster sections of a travel video.
The selected key point defines the focus of Circling Around. The camera travels around that point, so the composition changes throughout the shot. Think of the orbit as a sequence of views: the opening frame matters, but so does what appears as the camera moves behind or around the subject.
The orbit radius, camera height and tilt help shape the view. A wider composition can show the relationship between a landmark and its surroundings. A closer composition can give the chosen place more presence. Compare those approaches in the preview and use the one that makes the geography easiest to understand.
Circling Around includes controls for direction, starting angle, duration and the amount of rotation. These affect where the shot begins and how the view develops. For example, you might favour an opening that already reveals the destination, or let the movement gradually introduce more of its setting. Check the complete orbit before choosing.
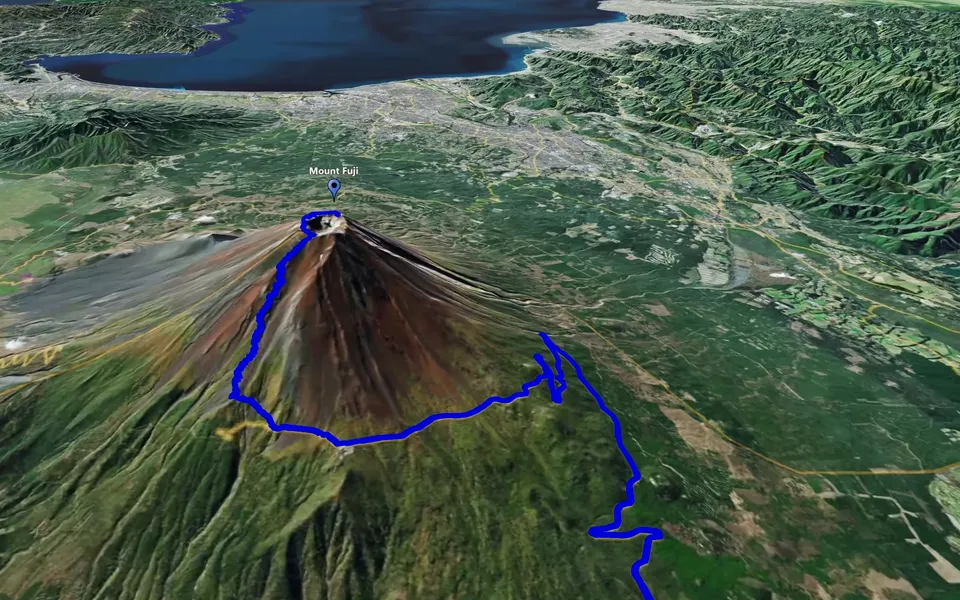
An orbit can be combined with an animated route in the same scene. This is useful when a destination and the path leading to it belong in one explanation: a walk approaching a viewpoint, a journey around a landscape or the final stretch of a longer trip.
Decide which element should lead the scene. If the location is the main subject, let the route support it. If the approach is the important part, choose a camera view that keeps that section visible as the orbit develops. The two movements should help the viewer understand the same moment of the journey.
It can be useful to place the orbit after a broader route sequence. The first clip answers where you travelled; the orbit then gives a particular destination its own moment. Assemble that sequence in your video editor around the footage filmed at the location.
Play through the entire preview and look for a few practical details:
- The chosen place stays recognisable as the viewpoint changes.
- The route, when included, remains readable alongside the landscape.
- The final view gives you a useful point for the next cut.
Save a version before changing the camera setup. A wider orbit and a closer alternative may each work with different footage, and saved versions let you return to the preferred scenario. Compare their role in the edit, then create the map clip that gives the destination the clearest introduction.